In honor of the successful
Mars InSight landing this week, I thought I'd do a progress report on my long-term KSP mission to get as many Kerbals off Kerbin by Year 2, Day 0 as possible.
Part 1 sets up the premise and the main strategy. In this Part 2, I throw about 1,000 tons of robotic hardware at Jool during the first available launch window, with hopes that at least some of it winds up in a single spot on the surface of Laythe as the seed for a colony.
 |
| The busy 1000m/s on-ramp to Jool Transfer Orbit. |
The Robotic Fleet
For the first launch window, I decided to send only uncrewed vehicles to feel out the Jool transfer orbit, the details of maneuvering within the Jool system, and the landing procedures at Laythe. The robotic fleet consists of three types of ship: Triple Relay Satellites (RS3), Laythe Rovers (LR1), and Habitats (HAB1). Each one has a different function crucial to settling a remote colony.
RS3
 |
| Does this thing get HBO? |
These are the smallest and lightest ships, but critical to this first remote-controlled mission phase. One of the relatively new realism additions to KSP is that uncrewed vehicles need to have a line-of-sight communication path back to Kerbin, or to a ship with a crew, in order to maneuver. To achieve this requires lining up a bunch of relay satellites around Kerbin and at other useful locations in the system.
Each RS3 assembly carries three small relay satellites with their own ion drives. In addition to the ones already parked around Kerbin, two sets of three are on their way out to Kerbin
L4 and L5 stations and then eventually other equally spaced points in the orbit. Three more sets are heading out to an intermediate orbit between Kerbin and Jool. And four sets of three are in the fleet heading for Jool, to set up a network around Laythe.
 |
| The start of the mission's comms network. |
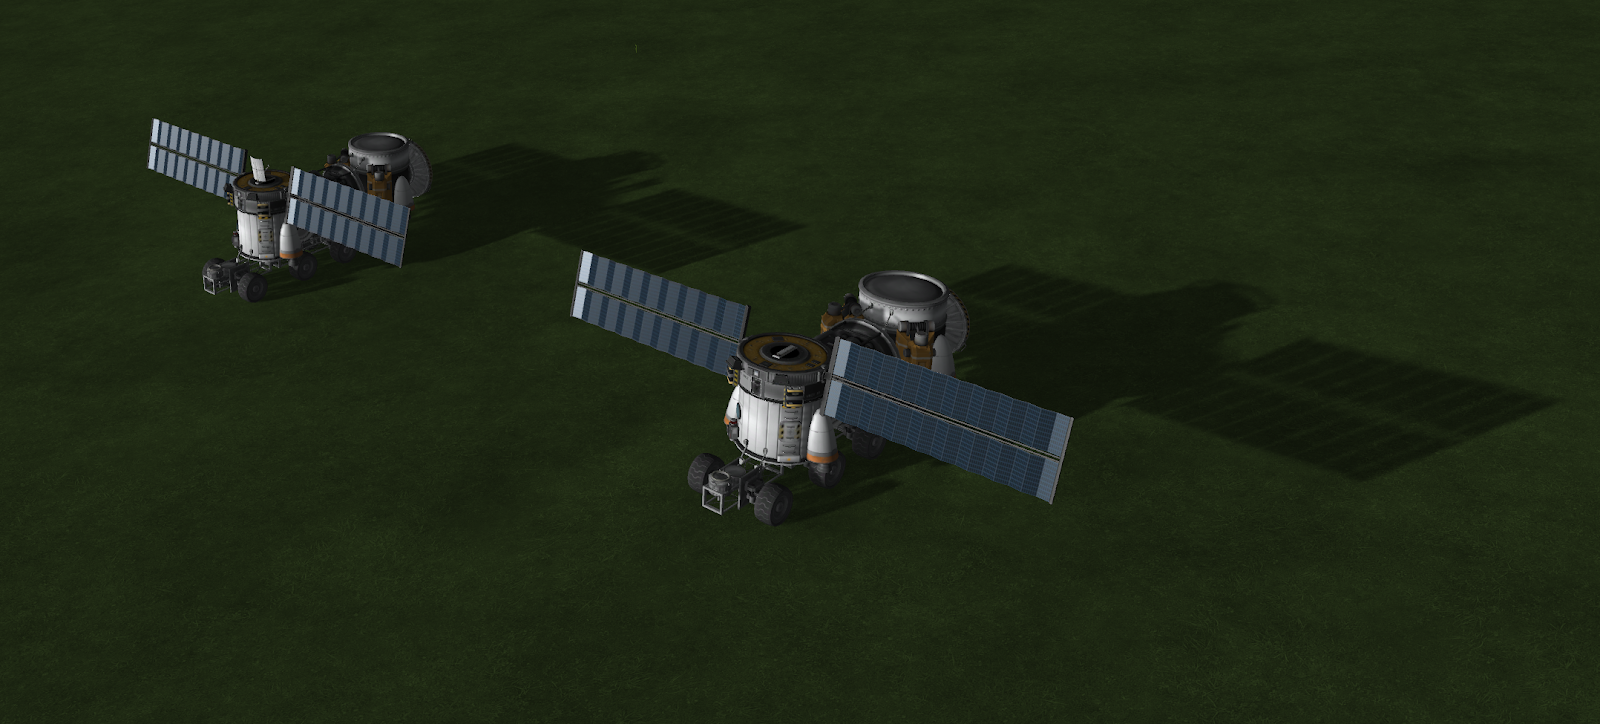
LR1
 |
| Practice driving on Kerbin. |
The Laythe Rovers are giant 30 ton workhorses. The main function of these 8WD crawlers is to seek out ore to mine and make fuel on Laythe. They each have two large drills, a refinery, and a huge fuel storage tank. They can dock with a parked space plane to refuel it, which is critical for sustaining a link between the Laythe surface and hardware/habitats in orbit.
Landing the rovers is a four-step process. They come packaged in an aero shell with a heat shield, so the initial descent involves just surviving with the heat shield pointed in the right direction. After some time, the drag on the large heat shield flips the package around and the heat shield itself becomes a supersonic air brake, with the aero shell protecting the rover. Once subsonic, the heat shield and fairing are discarded and set of parachutes further slows and rights the rover. Lastly, a set of four rockets slows it to a safe velocity just in time for touchdown.
 |
| Step 5 is to quickly deploy the solar panels and drive out of the way of falling fairing debris. |
HAB1
 |
| Home, sweet home. |
The Kerbals can live for extended periods of time in orbit, but having a home base on the Laythe surface will be important for long-term survival. In order to facilitate construction, the surface habitats are themselves rovers with roughly the same chassis as the LR1s. They land the same way and, once on the surface, can drive to each other. This will be important, since the landing target might hundreds of square kilometers.
The habitats are extremely modular. They can be individual homes for a single Kerbal family, including single-passenger mini-rover parked in front. Or, they can be docked together indefinitely to form a larger base, thanks to a central hallway section with docking ports on either end. The slight angle of the hallways allows them to fit inside the aero shell.
How much fuel to bring?
The LR1 and HAB1 landed payloads are both around 28 tons, about half the mass of my
first Laythe lander. (That lander had to be heavy in order to have enough fuel to get back off of Laythe, a task to be handled by space planes this time around.) In that mission, two identical ships flew independently to Laythe with an average of about 2500m/s of fuel-burning Δv. But, they also made heavy use of
aerocapture at both Jool and Laythe. Without that, it would take something more like 4360m/s to get from low Kerbin orbit to low Laythe orbit, according to the amazing
KSP Subway Map.
With a known Δv requirement, figuring out how much fuel to bring is simple. With the 800s
specific impulse of the
LV-Ns, the minimum wet to dry mass ratio is:
So, the ships need to carry about 3/4 ton of fuel for every one ton of dry mass. Not too bad, since the same heavy lifter that carries up the packaged landers can carry up an equivalent mass of LV-N engine, fuel tank, and liquid fuel. Thus, each robotic lander requires two separate launches:
First, a heavy lift booster hauls the lander payload in its aero shell into orbit.
 |
| These are the unsung heroes of the mission, relentlessly hauling all the more exciting hardware into orbit. |
Next, a second booster brings up a propulsion module, with LV-Ns and a lot of liquid fuel.
 |
| Just remember to check yo' staging... |
The two meet in orbit and create a transport ship with a wet to dry mass ratio of about 1.775, for a Δv of about 4500m/s.
 |
| Rendezvous between an LR1 lander package and its propulsion module. |
A total Δv of 4500m/s
is cutting it a bit close, but they would only need a small amount of aerobraking or
Tylo gravity assist to gain back a comfortable margin. There's also a good amount of RCS fuel on board that can be dumped (in a prograde or retrograde fashion) near the end of the trip if it's not needed. Additionally, the RS3 ships have a lot of fuel to spare if their propulsion modules can be swapped onto the more thirsty landers nearer to Laythe. The wet to dry mass ratio of the fleet as a whole has a comfortable margin.
Launch Window #1
The first Jool launch window happens around Day 190 in-game. (The
simple and
more complex online calculators both agree to within a few days). Up to that point, I spent time refining the landers and practicing the landings on Kerbin. But once the designs were locked, the push began to assemble the fleet in orbit.
The practical limit on fleet size is how many ships can be juggled during the actual launch window. In order to boost the wet to dry mass ratio, these ships have the two-engine version of the propulsion module, which gives them a somewhat low thrust to weight ratio. The ~2000m/s ejection burn had to be split into two parts: one into a 10-day elliptical orbit and a second to escape onto the final Jool transfer. Even still, the burns were 10 minutes each, so the ships had to be spaced out so they would reach their final periapsis burn at reasonable intervals.
 |
| Also, it would be nice if they didn't hit the Mun on their way in. |
After the final burn, the transfer takes over two Kerbin years, meaning Kerbin will have been destroyed by the time the first ship even arrives at Jool. The lander designs can never be tweaked, and the crewed fleet will have to set out with no guarantee that there will be a base waiting. No pressure.
 |
| Lots of empty space to cross now. |
661 Days Remain
With the first 18 ships on their way to Jool and then Laythe to set up base, the priority shifts to getting Kerbals off-planet. This means mass-producing and then filling the immense colony ships, which are the most intricate builds I have attempted in KSP yet.
 |
| More to come... |